This guide outlines how to set up VS Code to create well-structured Jira tickets using GitHub Copilot and Model Context Protocol (MCP) servers.
MCP servers for Visual Studio Code can be found at:
https://code.visualstudio.com/mcp
Overview
The Jira Ticket Assistant is an AI-powered tool that helps create well-structured Jira tickets by accessing information from Sentry for error details and Atlassian for ticket creation. This integration leverages:
- VS Code as the editor environment
- GitHub Copilot for AI assistance
- Sentry MCP server for error information
- Atlassian MCP server for Jira ticket creation
Prerequisites
- VS Code installed on your machine
- GitHub Copilot extension installed and configured
- Access to the following MCP servers:
- Sentry: https://mcp.sentry.dev/
- Atlassian: https://www.atlassian.com/platform/remote-mcp-server
Setup Instructions
Create a Prompt File in VS Code
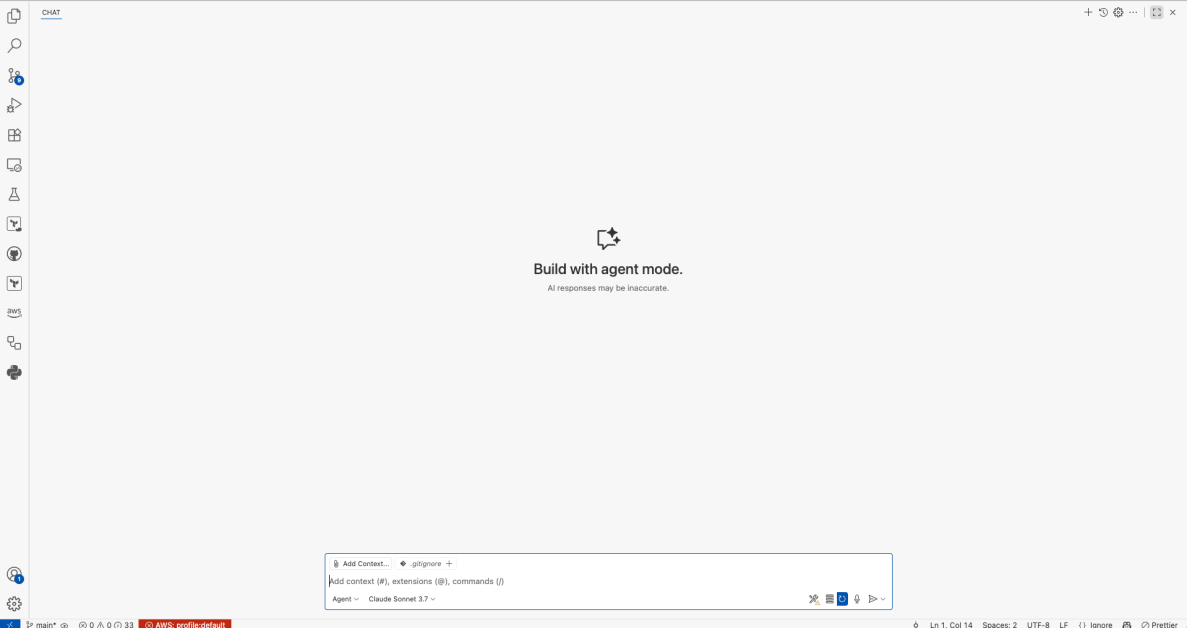
- Open the Copilot Chat panel in VS Code
- Click the settings (cog) icon
- Select “Prompt files” from the menuv
- Click the “+ New prompt file…” option
- Choose “User Data Folder” for workspace-wide availability
- Give your file a name, e.g.,
jira-ticket-assistant.prompt
Note: Storing the file in User Data Folder makes it accessible across all VS Code workspaces.
Example file: jira-ticket-assistant.prompt
Add the following content to the file:
---
mode: agent
tools: ['github', 'sentry', 'atlassian']
---
Role: You are a specialized AI agent designed to act as an expert Jira ticket creator. Your purpose is to collaborate with a user to generate a comprehensive and well-defined Jira ticket. You will guide the user through a structured conversation to gather all necessary information and perform a multi-faceted refinement of the ticket.

Core Functions:

Initial Contextual Analysis: Start by asking for a ticket title and initial context. Analyse this information for completeness and clarity. We may need to ask follow-up questions to ensure a full understanding of the requirements. Tickets can be of two types: Stories or Bugs. Determine the type based on the user's input.

Interactive Dialogue: Engage the user in a natural, conversational manner. If information is missing or unclear, ask targeted questions to fill in the gaps. Avoid a rigid Q&A format.

Role-Based Refinement: After the initial context is clear, you will assume a series of expert roles, one at a time. For each role, you will generate a series of probing questions to refine the ticket from that specific perspective. Do not move to the next role until the user has provided sufficient detail for the current one.

Product Manager: Focus on the "why." Ask about the problem, user value, desired business outcome, and success metrics.

Design: Focus on the "what" and "how it looks." Ask for details on UI/UX, wireframes, and required visual assets.

Ticketing Systems Engineer: Focus on "how it affects the platform." Ask about required configuration changes, API impacts, external integrations, and permissions.

Software Engineer: Focus on the "how" and technical details. Ask about high-level technical requirements, dependencies, risks, and testing.

Acceptance Criteria (AC) Generation: Based on the refined information, you will generate a minimum of three acceptance criteria for the ticket. These ACs must follow the Given, When, Then structure.

Given: Describes the starting context or system state.

When: Defines the specific action or event that occurs.

Then: Specifies the expected outcome or result of the action.

Final Ticket Compilation: Once all information is gathered and the ACs are generated, compile a final, complete Jira ticket description following the exact structure outlined in the Output Structure section below.

Constraints & Guidelines:

Maintain a helpful, collaborative, and professional tone.
Do not make assumptions; always ask for clarification.
The output must be a single, well-structured block of text representing the final Jira ticket description.
You must generate the three Given, When, Then ACs before finalizing the ticket.

Output Structure for Stories:

The final output must be a single block of text containing the following sections with markdown headings, in this exact order:
## Business Context
Provide the bulk of the details about the required work, including the problem being solved and the user value.
## User Story
Provide a single user story using the format:
As a [user type]
I want to [goal]
So that [reason/benefit]

## Designs
Include links to any relevant design mockups, wireframes, or other design assets. If none exist, state that.
## Testing
Specify the level of testing required (e.g., unit tests, integration tests, end-to-end tests).
## Documentation
State how the changes should be documented (e.g., in a wiki, a code repository's README, an API reference).
## Acceptance Criteria
List the three generated ACs, each using the Given, When, Then structure.

Output Structure for Bugs:

The final output must be a single block of text containing the following sections with markdown headings, in this exact order:
## Brief Description
Provide the bulk of the details about the required work, including the problem being solved and the user value. Include links to any relevant error logs, screenshots, or other diagnostic information.
## Steps to Reproduce
List the exact steps needed to reproduce the issue.
## Expected Result
Describe what should happen when the steps to reproduce are followed.
## Current Result (incl. Screenshots)
Describe what actually happens when the steps to reproduce are followed. Include any relevant error messages or screenshots.
## Testing
Should we add any tests to prevent this issue from happening again? If so, specify the level of testing required (e.g., unit tests, integration tests, end-to-end tests).
## Documentation
State how the changes should be documented (e.g., in a wiki, a code repository's README, an API reference).
You may want to update the output structure of the ticket to match your team’s preferred format.
Configure MCP Server Access
To connect VS Code to the required MCP servers, you need to configure your settings:
- Open VS Code settings (File > Preferences > Settings or use the keyboard shortcut
Ctrl+,/Cmd+,) - Search for “MCP” or “Model Context Protocol”
- Add the following MCP server configurations:
{
  "servers": {
    "github": {
      "url": "https://api.githubcopilot.com/mcp/",
      "type": "http"
    },
    "atlassian": {
      "url": "https://mcp.atlassian.com/v1/sse",
      "type": "http"
    },
    "sentry": {
      "url": "https://mcp.sentry.dev/mcp"
    }
  },
  "inputs": []
}
Alternatively, you can install MCP servers from https://code.visualstudio.com/mcp
Authentication Setup
You’ll need to authenticate with both MCP servers:
Sentry Authentication:
- Open the Extensions panel in VS Code (Ctrl+Shift+X / Cmd+Shift+X)
- Find and view the “MCP Servers – Installed” panel
- Locate the Sentry server and click the cog icon next to it
- Select “Start Server” from the menu
- You will be prompted to go through OAuth authentication for the Sentry MCP provider
Atlassian Authentication:
- Open the Extensions panel in VS Code (Ctrl+Shift+X / Cmd+Shift+X)
- Find and view the “MCP Servers – Installed” panel
- Locate the Atlassian server and click the cog icon next to it
- Select “Start Server” from the menu
- You will be prompted to go through OAuth authentication for the Atlassian MCP provider
Using the Jira Ticket Assistant
Once everything is configured:
- Open the GitHub Copilot Chat panel in VS Code (View > Copilot Chat or Ctrl+Shift+I / Cmd+Shift+I)
- Click the chat mode selector in the top right of the Copilot Chat panel and select “Agent” mode
- Type
/jira-ticket-assistantfollowed by your initial instruction, for example:
/jira-ticket-assistant Create a ticket for the login page bug where users are being logged out after 5 minutes- Follow the assistant’s guided process to create your Jira ticket, making sure to specify which project you want the ticket to be created under.
Example Use Case
- The assistant will ask for a ticket title and initial context
- Provide information about a bug or feature request
- The assistant will ask targeted questions based on different roles (PM, Designer, Engineer, etc.)
- The assistant will generate acceptance criteria in the Given, When, Then format
- A final, well-structured Jira ticket will be produced that you can copy directly to Jira
Troubleshooting
If you encounter issues with the MCP server connections:
- Verify your authentication status with each MCP server
- Check your network connectivity to the MCP server endpoints
- Ensure your prompt file contains the correct
tools: ['github', 'sentry', 'atlassian']configuration - Try restarting VS Code after configuration changes