GitHub Repository: https://github.com/danielBroadhurst/aws_serverless_app.git
How to build a Serverless Web Application using Amazon Web Services (AWS) and React. This project utilises CloudFormation to deploy the resources required to host the serverless application on AWS. The Amplify CLI can be used to generate Authentication, API’s and backend databases.
This project has enabled me to further understand how to build serverless applications using the services which AWS provide and is not necessarly the easiest way to setup an application.
Deploying the Amplify Stack using CloudFormation
The template file which is found in the repository will create all the resources which are required for a Serverless Web Application. You will need to pass in the GitHub repository URL, GitHub Oauth Token and the domain you wish to link to the Amplify App.
Once the resources have been deployed you will be able to visit the AWS Amplify console and trigger the first build manually. Once this has been completed and futher update will automatically be deployed.
The following command using the AWS CLI will deploy the stack using the template in the root of the folder:
aws cloudformation deploy --template-file template.yaml --stack-name <STACK_NAME> --parameter-overrides Repository=<REPO_URL> OauthToken=<OAUTH_TOKEN> Domain=<DOMAIN_NAME> --capabilities CAPABILITY_NAMED_IAMSTACK_NAME = The name you would like to use for the CloudFormation Stack
REPO_URL = The GitHub URL of the Repository
OAUTH_TOKEN = A GitHub OAuth Token
DOMAIN_NAME = The URL which you would like linked to the Application
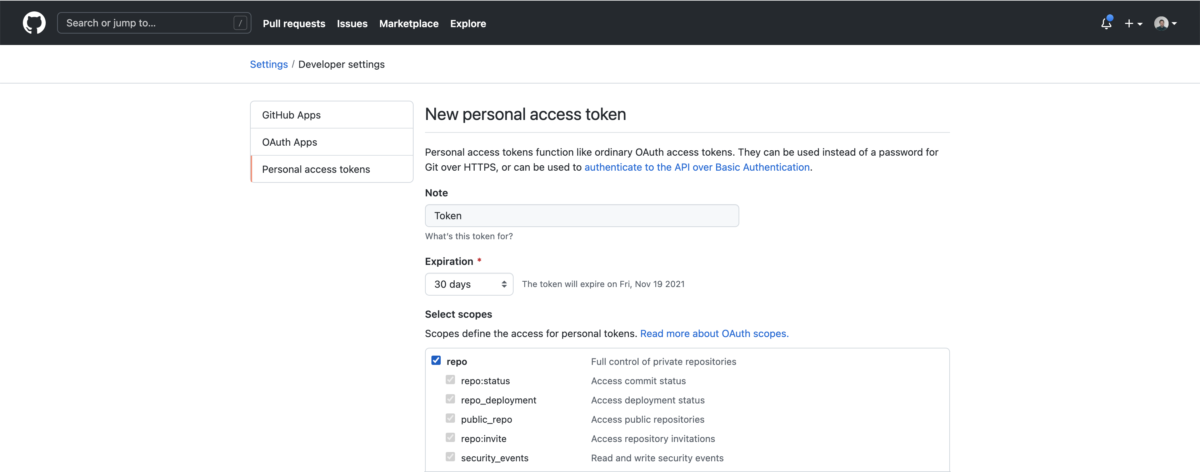
To generate an OAuth Token in your GitHub account you can go to your Personal Access Token page in your account. Or by going to Settings -> Developer Settings -> Personal Access Tokens and clicking Generate New Token. Select the repo scope to give the correct permissions for the access token.
The stack will deploy your the following resources:
- IAM Role to assume Amplify permissions
- SNS Role to allow AWS to send verification emails
- Amplify App which targets the GitHub Repoistory
- Amplify Branch
- Amplify Domain URL
- Cognito User Pool
- Cognito User Pool Client
Add Cognito Config to React Application
Setting up the React Application with the Cognito User Pool config is relatively easy thanks to AWS providing an npm package.
The aws-exports.js file which is found in the ./front-end/src/ folder of project requires some values from the deploy stack. The CloudFormation template outputs the values which are required, navigate to the stack in the AWS Console to retrieve the values.

UserPoolId and UserPoolClientWebId will need to corresponding values from the stack. These values are passed into the Amplify module in the index.js files which enables the application to communicate with the AWS User Pools to allow users to sign up and access your web application.
Deploying into the AWS Cloud
Once the CloudFormation stack has been deployed and the Amplify Application has been created in your account. The first build of the application must be triggered manually from the Amplify Console. Navigate to AWS Amplify and to your deployed app and you should see the main branch listed – click the Run Build button and it will provision the resources required and build your application.

Running the Application Locally
Once the CloudFormation template has been run and the resources are deployed you can test the application locally. To start the application you can use the start command from the front-end folder in the project.
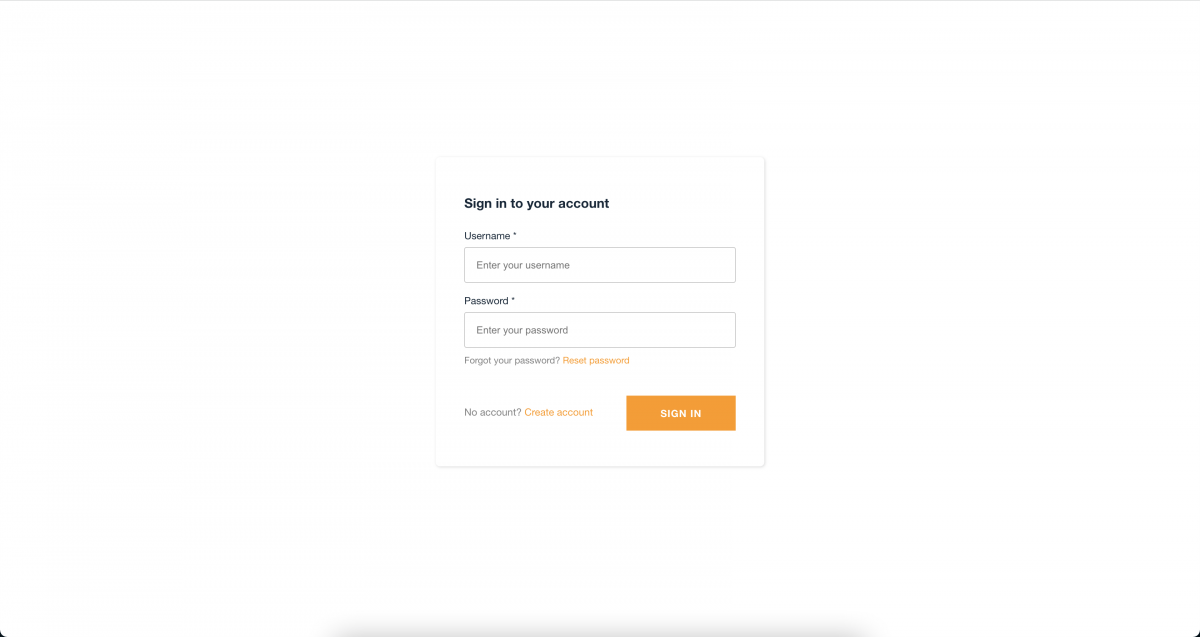
npm run startAfter a few moments you should see the AWS Login screen where you can create your account. During the account creation process, AWS Cognito will validate your email by sending you a 5 digit code – so make sure you use a real email address.
Once you have created your account and verified your email account, you will be automatically logged into the account. The user would be redirected to your App.js file and could access your React application.
Deploying App without a Domain
You do not need to have a domain setup to deploy the application. To remove this part of the CloudFormation stack you will need to remove the following from the template.yaml file:
- Domain – found in the Parameters section
- AmplifyDomain – found in the Resources section
- MainBranchUrl – found in the Output section
By removing these parts the stack will deploy and to access the deployed application will be available on the default domain which is assigned to all Amplify Applications.